i18next
i18next
Created : 📅Wednesday 28th May 2025 Modified: 📅Wednesday 28th May 2025 11:39
title:
style: nestedList # TOC style (nestedList|nestedOrderedList|inlineFirstLevel)
minLevel: 2 # Include headings from the specified level
maxLevel: 0 # Include headings up to the specified level
include:
exclude:
includeLinks: true # Make headings clickable
hideWhenEmpty: false # Hide TOC if no headings are found
debugInConsole: false # Print debug info in Obsidian console
Introduction
i18next is an internationalization-framework written in and for JavaScript. But it’s much more than that!
i18next goes beyond just providing the standard i18n features such as (plurals, context, interpolation, format). It provides you with a complete solution to localize your product from web to mobile and desktop.
Here we are going to hiligh its possibilities as a tool to handle multiple languages. It can be used with the most popular Javascript frameworks such as React, Vue and more… As i am more familiar with React and it’s the most popular JS front-end framework the rest of the solution will be presenteted using this stack. Also this setup might not be the most suitable for your project. I encourage you to check the official documentation to match specific requirements and specifications. You will be able to find the code and the ressources used at the end of the tutorial.
Initialisation
We are gonna kickstart the project using Vite. if you already have a project created and only wish to add language support you can skip to adding libs
Kickstarting of a project using Vite
Lets create a new project using React and Typescript with npm as a package manager. you could also use yarn or pnpm.
npm create vite@latest i18nextDemo -- --template react-tsLet’s make sure the project is running properly by running the website :
npm install
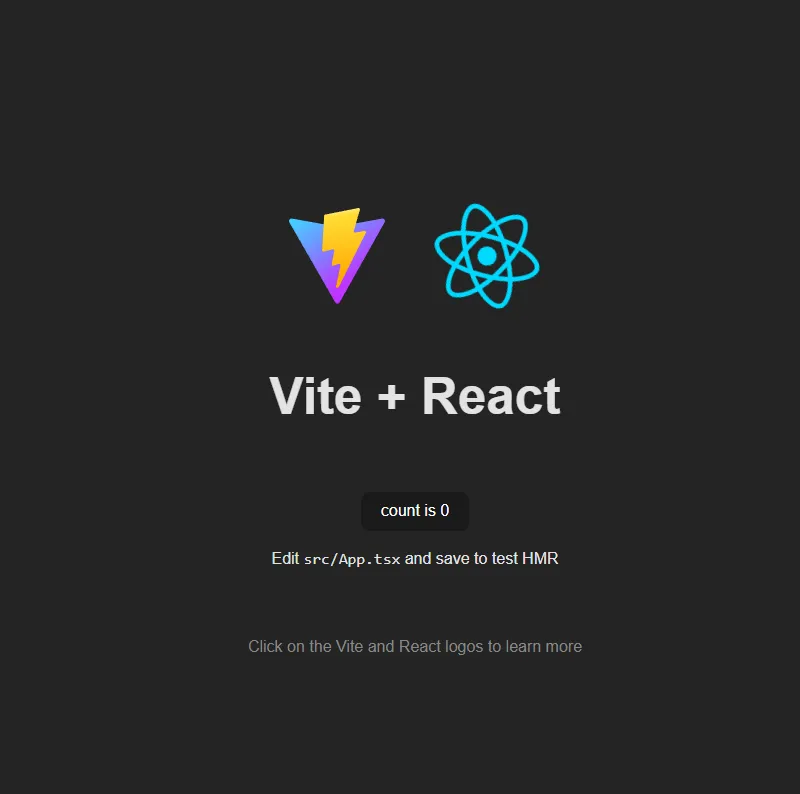
npm run devYou should be able to see a generic project running :
Installing i18next dependencies
Multiples interlinked libraries are gonna be used for this project. I will add them all at once with :
npm install i18next i18next-browser-languagedetector i18next-http-backend react-i18nextAll done for the setup. Let’s jump to the code !
Boilerplate
Open up your favorite code editor and check the project structure. We are going to add support of 3 languages here : english , japanese and korean.
Project structure
We are gonna create a few folders in the public directory to match the following file tree structure :
├── src/
│   ├── assets/
│   │   └── ...
│   ├── App.tsx
│   ├── main.tsx
│   └── ...
├── public/
│   ├── locales/
│   │   ├── en/
│   │   │   └── translation.json
│   │   ├── jp/
│   │   │   └── translation.json
│   │   └── ko/
│   │       └── translation.json
│   └── ...
├── index.html
├── package.json
├── tsconfig.json
└── ...
Adding some code
Now we are going to add some code in main.tsx :
import './index.css'
import App from './App'
import HttpApi from 'i18next-http-backend'
import LanguageDetector from 'i18next-browser-languagedetector'
import React from 'react'
import ReactDOM from 'react-dom/client'
import i18n from 'i18next'
import { initReactI18next } from 'react-i18next'

i18n
  .use(initReactI18next) // passes i18n down to react-i18next
  .use(LanguageDetector)
  .use(HttpApi)
  .init({
    detection: {
      order: ['cookie', 'localStorage', 'htmlTag', 'path', 'subdomain'],
      caches: ['cookie']
    },
    fallbackLng: 'en',
    backend: {
      loadPath: '/locales/{{lng}}/translation.json'
    }
  })

ReactDOM.createRoot(document.getElementById('root') as HTMLElement).render(
  <React.StrictMode>
        <App /> {' '}
  </React.StrictMode>
)
And you are almost ready to go !
Here are some explanations concerning the important parts of the code :
detection: {
      order: ["cookie", "localStorage", "htmlTag", "path", "subdomain"],
      caches: ["cookie"],
    },
    fallbackLng: "en",
    backend: {
      loadPath: "/locales/{{lng}}/translation.json",
},- The order parameter tells the application what is prioritary to determine the user language. I.e : Here if it doesn’t find the value in the cookie it will search for local storage and then htmlTag and so on
- The caches parameter tells where to store the user preference. I recommend sticking with cookie or local storage as it is stored on the client device and can be easily persisted.
- backend tells where the translations should be located. If you followed a different structure then the one mentionned above you might have to configure this parameter differently.
Values to translation files
Now that are project should be able to run, we need to add data to every translation file.
en
{
  "demo.hello.world": "Hello World"
}
jp
{
  "demo.hello.world": "こんにちは世界"
}
ko
{
  "demo.hello.world": "안녕하세요 세계"
}
Using the values in the project.
Great our project is finnally completely setup. We can start to use our data in our application !
Let’s jump to App.tsx and change the code a bit :
[...]
import { useTranslation } from "react-i18next";
function App() {
const { t } = useTranslation();
return (
<div className="App">
[...]
<p>
<h1>{t("demo.hello.world")}</h1>
</p>
[...]
</div>
);
}
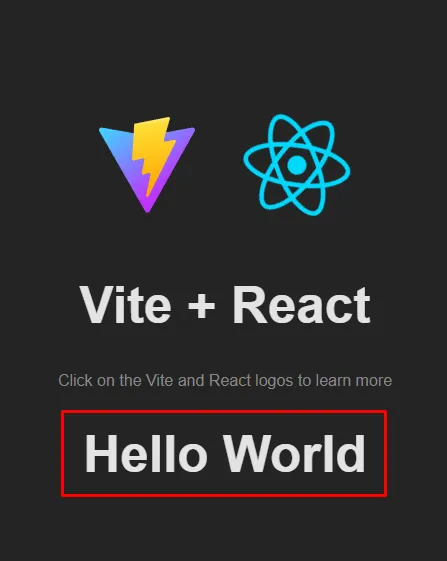
export default App;Demo
You can directly see the result in your project by running npm run dev
To see if it does work in the other provided languages, head to the inspector tool of you navigator (F12). Go to application tab and then cookie
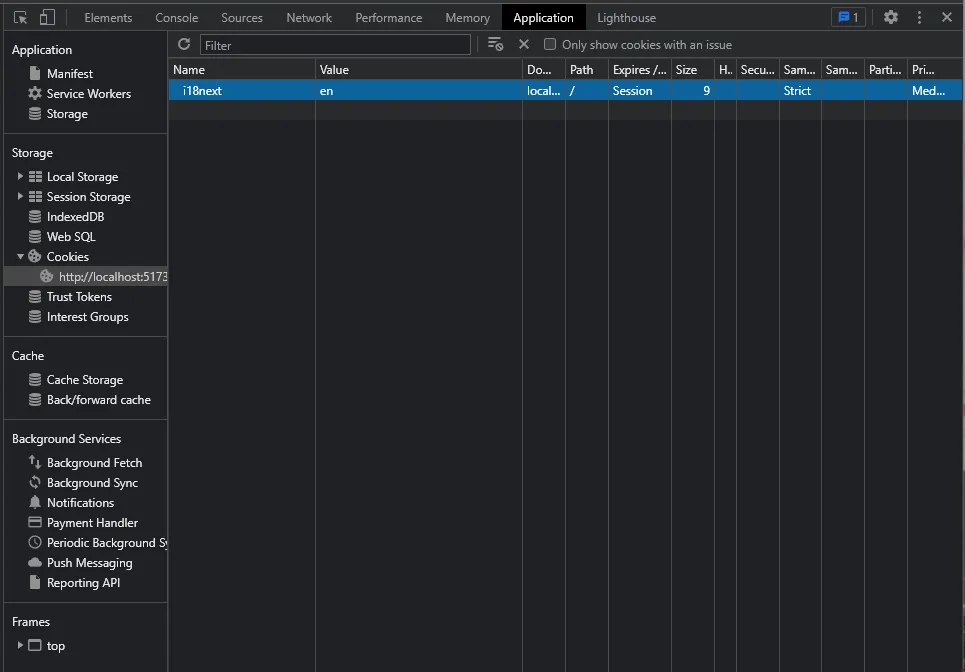
You can modify the en variable with either jp or ko. Hit refresh and you should see some change on your page !
Going further
You now have a fonctionning example of i18next for multiple language support. Here are a few ideas on how to continue this project :
- Add another language
- Add a button that lets you choose the desired language instead of changing it trough devTools.
Ressources and references
You can find the full code of the project here Inspired by this video : React Multi Language App - i18next Tutorial
References
Tags : #React #Code #TS